Showing posts with label lips. Show all posts

Saturday, 9 May 2015

DIY Home-y


This world has a funny way of making things super complicated real fast.
Now let's see, everything in this world can be used, recycled and grown, if you think about it your great, great, great ancestors used everything as it came, no gimmicks, no chemicals no LIES. We often tell ourselves not to eat chemically processed food to maintain a fit body, but what about the face? Fun fact your face in the largest organ of your body! (Yes start appreciating it more often).
So here are 2 of my favourite do it yourself (DIY) home recipies, I'd that's what you want to call it for your face and body!


Honey lip scrub, moisturiser and exfoliator

Thats right ladies, three benefits in one! Since everyday almost seems like winter in Australia recently, your lips are bound to start cracking and flaking around the edges because of the harsh weather and winds. This gentle method of scrubbing and exfoliating at least once a week will take you a long way and your lips will thank you.
Lip scrub with 3 simple ingredient
 | Photo sourced from http://blog.modcloth.com

Ingredients:


  • 1 Teaspoon of honey
  • 1 Teaspoon of brown sugar
  • Small amount of Olive oil (to maintain moisture)


Mix all the ingredients extra well, add honey for more constancy, or more sugar for a grainy texture and of course more exfoliating, play around with it, and dont forget to store some for later. Mhmm the honey tastes so good, you'll be tempted to lick it off, DONT DO IT.


Lemon face scrub

This one is my absolute favourite, with countless research and youtube video demonstration i finally found my go to product to apply all over my face on days off. Growing up as a teenager in high school i've always had battles with pimples, not severe ace but painful zits that would keep coming back on a regular basis. So after countless useless products i went through, you can imagine my surprise when i realised two ingredients easily found in your kitchen was the long sought after solution. Lemon and sugar! Not only does it help remove dead skin cells, but helps with acne scaring and refreshes your face with a definite glow!

Ingredients

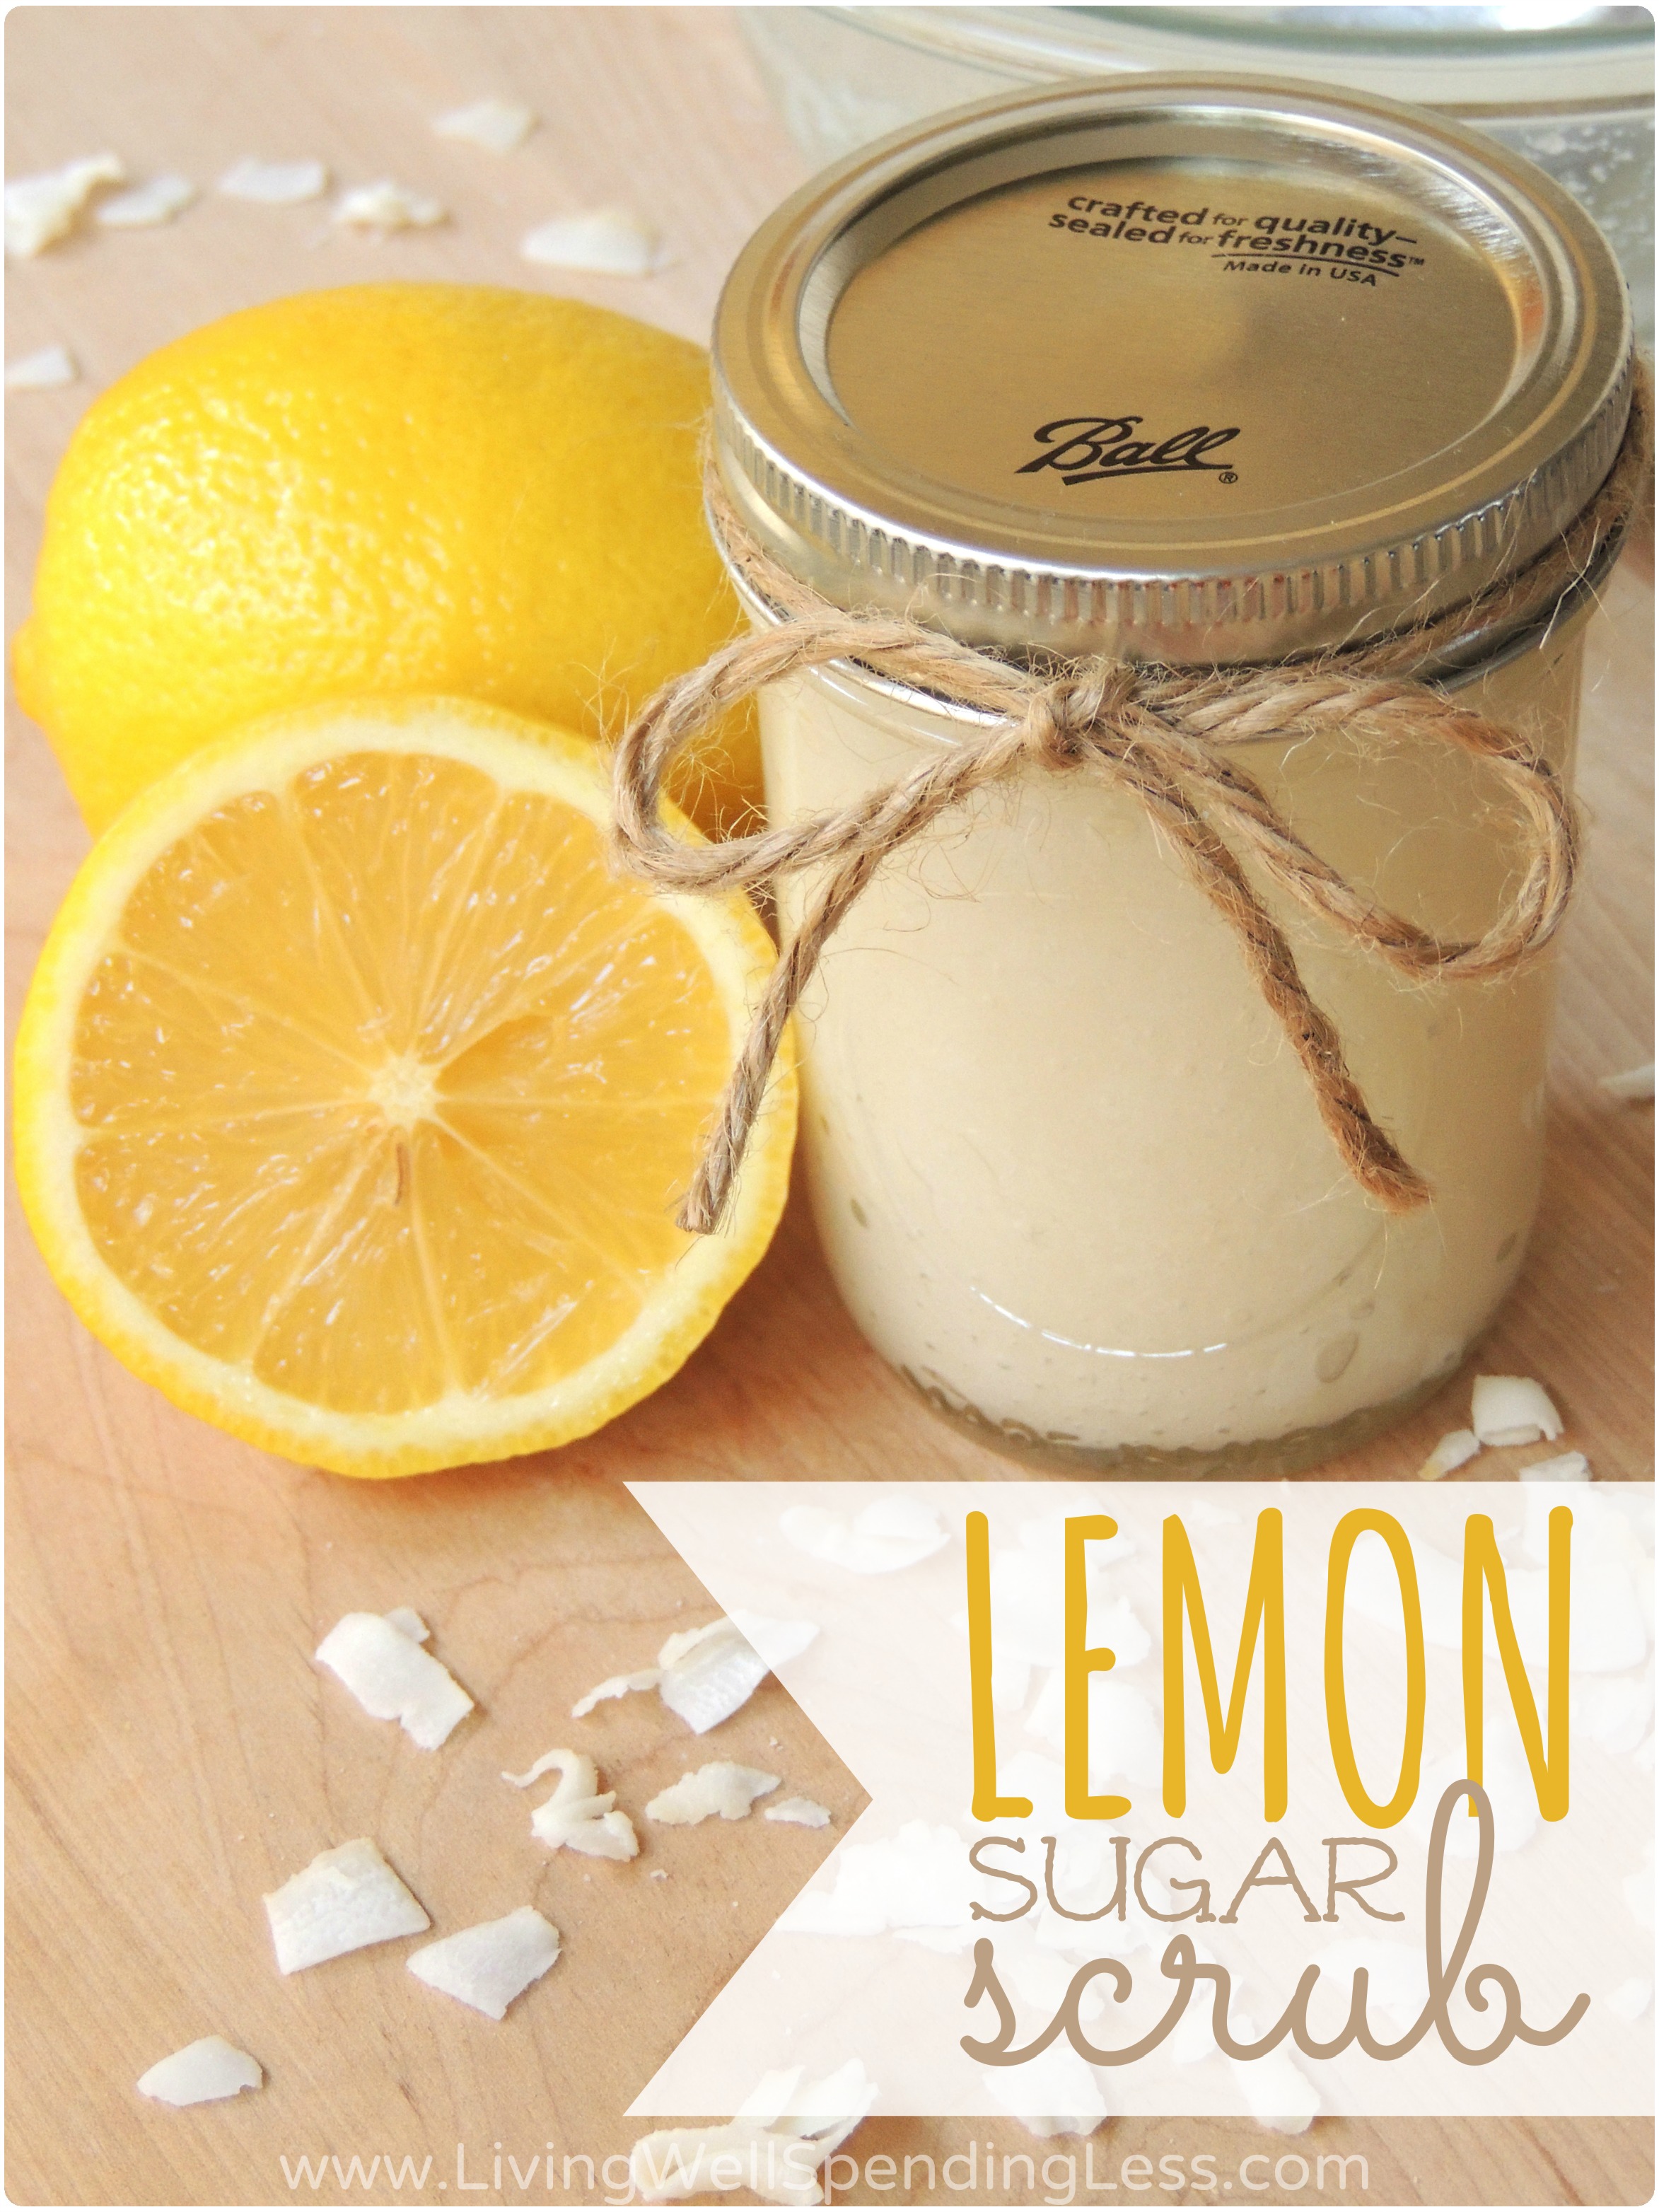
Lemon & sugar scrub |
Photo sourced from http://www.livingwellspendingless.com

  • Lemon
  • Sugar
  • Honey (optional)


Yeap! Its as easy as that! Make sure you pack in enough sugar granules to provide a grainy surface on which you can use a cotton pad to exfoliate your skin in a circualr motion, HOWEVER be gentle on your skin, lemon is highly acidic and can be too rough on your skin, again depending on your skin type. My advice try some of the mixture on the small back of your hand and wait for any unexpected reaction. If it does come down to a sensitive reaction, (mine definitely did), i suggest adding honey. Yes you can probably imagine by now i have jars of honey lying around the house by now, but all jokes aside, adding a touch of honey smoothens your skin and make your face feel so soft you'd be surprised! With that being said, don't limit the scrub to just your face, have fun with it, use it as an all natural body scrub when you're having a shower, it'll do wonders!


Hope you try them and enjoy them, dont be afraid to try something new, and if there is anything i've taught you is to be bold and go experiment, theres no regrets with good life choices.


Until next time lovelies
-Mahak

Thursday, 30 April 2015

What order should I apply makeup in?

Here is something that I get asked on a lot! In what order does makeup go? 
It really depends on personal preference on which part to do first. Some like to do eyes first and then the face, and vice versa. So here I put it down in order of the categories- face, eyes & lips. So whether you want to do eyes first or your face...just follow the steps and move on to the next section. 
As a professional makeup artist, I follow the following order to ensure my clients' or my makeup lasts the longest possible. 
Face:
1. Moisturize
2. Prime
3. Apply foundation
4. Conceal (under eyes can be done after the eyes are finished)
5. Set face with setting powder
6. Contour/Highlight
7. Apply blush
8. Finish with a Setting Spray 
Eyes :
1. Prime
2. Do eyebrows
3. Eyeshadow
4. Eyeliner
5. Curl eyelashes
6. Mascara
7. False lashes (mascara the false lashes with real ones to blend if necessary) 
Lips:
1. Apply concealer/foundation (will allow the lipstick’s true colour to show)
2. Line lips with lip liner
3. Apply your lipstick/lipgloss
4. Conceal around the lips to clean edges (for dark/bold colours)

I hope this made sense and helped answer your question. Let us know how you do yours and also how these steps worked for you all !! 
Au revoir ladies!
Myura Kumar xoxo

Wednesday, 29 April 2015

Kylie Jenner Lip Challenge?!?!

Happy Hump Day everyone! So, I'm sure you've all heard about the viral trend that is taking over Facebook, Instagram and Vine at the moment. Yes, the one that involves sucking your lips in a shot glass for a couple of minutes, and releasing them to see a waterfall of drool and a massively expanded pout. That's, right, the #kyliejennerlipchallenge.

If you've been living under a rock on Mars and don't know who Kylie Jenner is, she's the 17 year old half-sister of the Kardashians: Kourtney, Kim, and Khloe. And she's famous for her lip-alicious Instagrams, such as the one below. Now, whether or not she's had lip surgery is unclear and often a hot topic of conversation - she claims that she just overdraws her lips, which is a great tip for enhancing them and I will get to that later in the post.

Photo sourced from @kyliejenner - Instagram.com
Now, don't get me wrong - it's great to try and emulate a person's look if that's what you're trying to go for. And to have fun with it! But this is CLEARLY not what Kylie does to enhance her lips. This is a typical result:

Photo sourced from @kyliejennerlipchallenge - Instagram.com
But it can get worse. A LOT WORSE. I'm going to spare you the pictures, but I have seen plenty of instances in the past week of the skin around the lips being bruised, swollen for hours, or even cut from the glass breaking and tearing the lips in the process. In conclusion? I wouldn't recommend it.

Don't worry! There are plenty of SAFE, natural ways to enhance those babies. These are my favourite techniques:

  • For the most natural look, overdraw your lips slightly with a lip pencil close to your lip colour. A safe, affordable option is the Rimmel Lasting Finish 1000 Kisses Lip Liner in 'Natural'. Fill in the rest of your lips with the same pencil and chuck some lip gloss over the top to make them appear more plump. Here's a great tutorial on how to achieve this from the lovely Lauren Curtis:

  • You can do the same with any colour lip pencil and a matching lippy, but a warning: it does require more maintenance over the day. Make sure you go for something long-lasting and relatively matte.
  • There is also a suction tool called 'Fullips', which kind of works like the shot glass but is a lot safer - it's plastic, comes in different sizes and you don't suck as hard or for as long. The downside is that it only lasts up to 4 hours, but it's definitely a better option!
So what's the bottom line here? Well, I think it's fab to experiment with different lip shapes and sizes - like eyebrows, they can do a lot for the face. But even though 'duck face' and big lips seem to be a 'thing' at the moment, don't get caught up in the hype if you're not into it. For me personally, I feel like I can't pull off a look unless I'm confident in it. But if you do what works for you, I promise you those suckers will be stretching into smiles more often.

Enjoy the rest of your week everyone, and stay rad :)
Amy